How To Make Homemade Greek Yogurt
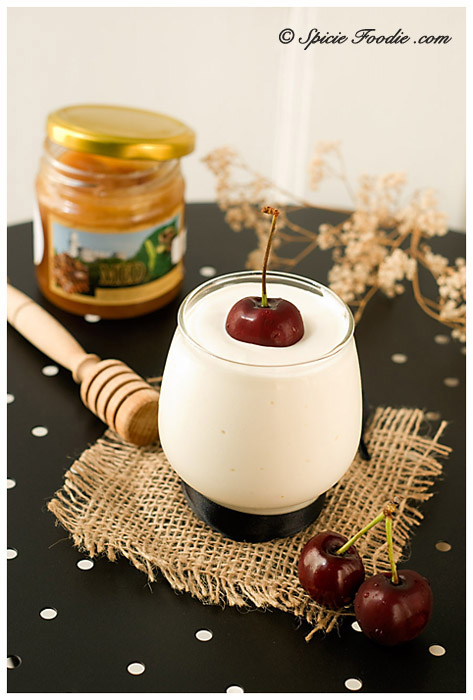
Yogurt, or Yoghurt, is one of the neatest foods to make at home, and I believe that everyone should make at least one batch of homemade yogurt. I may be biased because yogurt is one of my favorite foods, but it is still a pretty neat kitchen accomplishment to be proud of. You might be surprised how easy it is to make your own yogurt.
I had been curious about making my own yogurt for a few years, then finally last year I took the plunge. The credit goes to my older sister for giving me the final push. One day last year she posted on Facebook about her creamy thick homemade yogurt. Immediately I asked her for her recipe. She was kind enough to give me the recipe which was given to her by her sister-in-law. Over this past year I have made my own homemade yogurt many times and I simple can’t get enough. From the first time I made it the results where great and I’m sure you’ll have great results as well.
I have experimented a bit and have not only my sister’s recipe but my own one as well. The ingredients are slightly different but the results are just as delicious. The most important thing is to use clean and sanitized utensils to avoid contamination or a food illness. This time I will be giving you my recipe and my sister’s I’ll share another time. Okay, let’s begin.
Homemade Greek or Thick Yogurt
Makes 1 kg or 2 lb. prior to draining
1 liter or 1 quart/4.25 cups whole fat milk, (I used 3.5%)
1 tbsp. whole fat powdered milk
1 heaping tbsp. whole fat plain unsweetened yogurt (make sure it says live and active cultures)
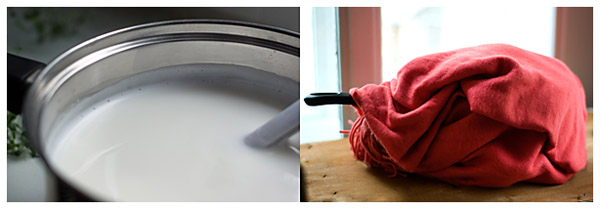
- Measure out the yogurt and leave on the counter, so it comes to room temperature. Pour all but 1/2 cup of the milk into a large pot. Mix the 1/2 cup milk with the powdered milk until well combined and there are no lumps in the milk. Pour the powdered milk mixture into the pot with the rest of the milk. Over medium heat bring the milk to a temperature of 180f or 82c. If you do not have a thermometer allow the milk to heat just until it begins to froth/bubble not allowing it to boil. Turn the heat off, remove from stove and set aside to cool.
- After 15 minutes check the milk temperature, it should still be warm but not scorching. Test by placing your clean pinky finger into it and if you can comfortably leave it in there for a few seconds then you can proceed, if not continue to cool down. The milk needs to be lukewarm. It is very important for the milk not to be too hot so the yogurt cultures are not killed by the heat.
- Mix in the 1 tbsp. of plain white yogurt to the pot, mix well to throughly to distribute the yogurt into the scalded milk. Cover the pot with lid, wrap the whole pot in a thick blanket or towel, and place inside the oven to incubate. The oven should be turned off, but if you can, leave the oven light on to create a bit of heat inside. (Instead of placing the wrapped yogurt inside the oven it can also be left in a warm spot in your kitchen.) Leave for 3 to 6 hours in the turned off oven, or warm kitchen spot. During this time is when the yogurt cultures begin to react/grow and the milk begins to set into yogurt.
Allowing to sit for 3 hours creates a milder yogurt, allowing it to sit longer creates a more acidic yogurt. If after 3 hours the yogurt has not thickened then it needs to sit longer. I leave mine for 6 hours and feel the taste is great, just a little acidic but perfect to my liking, but also the yogurt is always thick after 6 hours. After the 3 or 6 hours of incubation, unwrap the yogurt but leave the lid on. Place the pot in the refrigerator to thicken further for a few hours or overnight. I like to leave mine overnight so it’s ready for breakfast the next day.
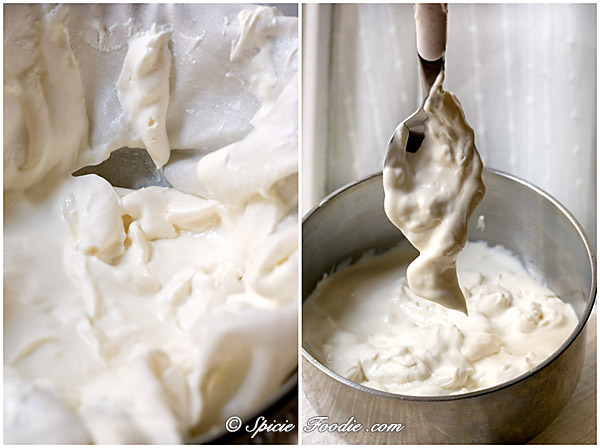
- The next day or after a few hours the yogurt will have thickened. You can test by tasting with a tablespoon. You can further thickened the yogurt to make it Greek style. We can do so by draining some or most of the whey.
To drain of whey and for a thicker Greek Yogurt like consistency:
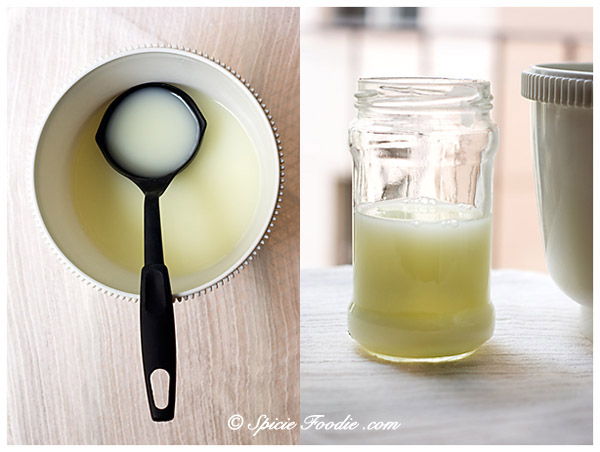
Line a fine sieve with muslin cloth or a clean kitchen towel, and place over a bowl to collect the whey. Pour the yogurt into the muslin cloth, gather up the cloth, and twist. Place in the refrigerator and allow to drain for 2 hours or until you achieve the consistency or yogurt thickness desired.
Reserve some of the whey incase the yogurt needs to be thinned down. If you feel the strained yogurt is too thick simply pour a bit of the drained whey into it, mix and check thickness again. Store the yogurt in an airtight container in the refrigerator. Consume within a week, if you don’t eat it before then that is.
The leftover whey can be mixed into soups, stews, or used for baking too. Just do a quick Google search and you’ll find many great uses for the leftover whey.
I know the instruction make it feel like a long and complicated process, but it’s really not. The initial start of the process is all you really have to do. The rest of the time is just waiting for the yogurt to set. There are a few things I’d like to share you with about my yogurt making experience. First off do not use low-fat milk, the yogurt will be too thin. I don’t know about you but I really dislike thin yogurt. Some people like to use raw milk but I always use pasteurized or ultra-pasteurized milk and with great results. Lastly, never ever use a sweetened or fruit yogurt starter. Your milk will never set into yogurt with a sweetened or fruit yogurt starters. If you want to sweetened or flavor the yogurt, first it has to set. Do not add sweeteners or flavorings until after both the incubation and draining periods.
Once you make your own homemade yogurt you’ll find it hard going back to store bought. I love to make my own because I can control how thick and sour it comes out. Plus the taste is simply unbeatable!
For your convenience I also including recipe card below so that you may print it out. I hope you make yourself a batch soon, enjoy.
How To Make Homemade Greek Yogurt
Ingredients
- 1 liter or 1 quart/4.25 cups whole fat milk (I used 3.5%)
- 1 tbsp. whole fat powdered milk
- 1 heaping tbsp. whole fat plain unsweetened yogurt make sure it says live and active cultures
Instructions
- Measure out the yogurt and leave on the counter, so it comes to room temperature. Pour all but 1/2 cup of the milk into a large pot. Mix the 1/2 cup milk with the powdered milk until well combined and there are no lumps in the milk. Pour the powdered milk mixture into the pot with the rest of the milk. Over medium heat bring the milk to a temperature of 180f or 82c. If you do not have a thermometer allow the milk to heat just until it begins to froth/bubble not allowing it to boil. Turn the heat off, remove from stove and set aside to cool.
- After 15 minutes check the milk temperature, it should still be warm but not scorching. Test by placing your clean pinky finger into it and if you can comfortably leave it in there for a few seconds then you can proceed, if not continue to cool down. The milk needs to be lukewarm. It is very important for the milk not to be too hot so the yogurt cultures are not killed by the heat.
- Mix in the 1 tbsp. of plain white yogurt to the pot, mix well to throughly to distribute the yogurt into the scalded milk. Cover the pot with lid, wrap the whole pot in a thick blanket or towel, and place inside the oven to incubate. The oven should be turned off, but if you can, leave the oven light on to create a bit of heat inside. (Instead of placing the wrapped yogurt inside the oven it can also be left in a warm spot in your kitchen.) Leave for 3 to 6 hours in the turned off oven, or warm kitchen spot. During this time is when the yogurt cultures begin to react/grow and the milk begins to set into yogurt.
- Allowing to sit for 3 hours creates a milder yogurt, allowing it to sit longer creates a more acidic yogurt. If after 3 hours the yogurt has not thickened then it needs to sit longer. I leave mine for 6 hours and feel the taste is great, just a little acidic but perfect to my liking, but also the yogurt is always thick after 6 hours. After the 3 or 6 hours of incubation, unwrap the yogurt but leave the lid on. Place the pot in the refrigerator to thicken further for a few hours or overnight. I like to leave mine overnight so it's ready for breakfast the next day.
- The next day or after a few hours the yogurt will have thickened. You can test by tasting with a tablespoon. You can further thickened the yogurt to make it Greek style. We can do so by draining some or most of the whey.
To drain of whey and for a thicker Greek Yogurt like consistency:
- Line a fine sieve with muslin cloth or a clean kitchen towel, and place over a bowl to collect the whey. Pour the yogurt into the muslin cloth, gather up the cloth, and twist. Place in the refrigerator and allow to drain for 2 hours or until you achieve the consistency or yogurt thickness desired.
- Reserve some of the whey incase the yogurt needs to be thinned down. If you feel the strained yogurt is too thick simply pour a bit of the drained whey into it, mix and check thickness again.
- Store the yogurt in an airtight container in the refrigerator. Consume within a week, if you don't eat it before then that is.
Nancy Lopez is a food blogger and author of the cookbook Mexican Tamales Made Meatless. Born in Mexico, raised in the US, and currently living in Southern Mexico, she has followed a meatless diet for almost 10 years. It is her passion and mission to share all she has learned about vegan Mexican cooking and vegetarian Mexican recipes. Mexican Made Meatless is a blog dedicated to preserving the authentic flavors of Mexican cuisine just without the meat. It’s a place to celebrate Mexican culture and all it’s delightfully delicious traditional foods. Read more…




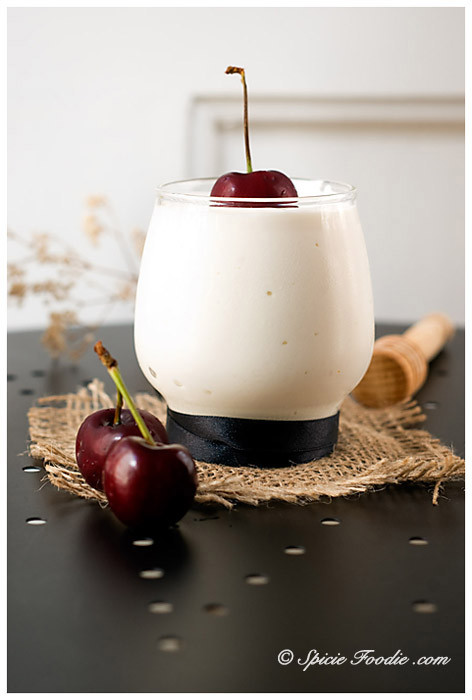
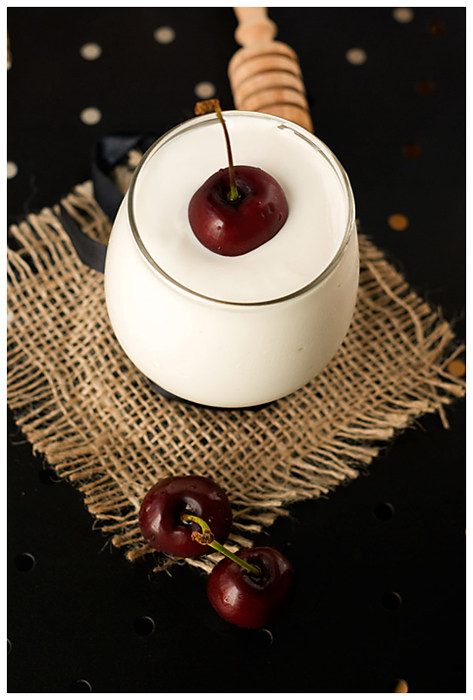






I am making mine right now with 1% milk and nonfat powdered milk since I am changing the way I eat. Let you know how it turns out.
I had to heat up the oven and let it cool a little then I put the yogurt in a sterilized quart jar with lid, wrapped it in a towel and left it overnight. It’s not as thick as your pictures, but it is very good!
Hi!
Can I substitute whole fat for skim milk and fat free yogurt?
I’m on a diet and want to have greek style yogurt!
Hi Kaira,
I’ve never used fat free ingredients in my yogurt so I can’t advice you as to how good the results will be. Someone in the previous comments did say they use fat free ingredients so perhaps you’ll want to reference that. Good luck and enjoy your yogurt!
I HATE thick yogurt and can’t find nutritious thin yogurt since Liberte of Canada is no longer sold locally. You thick yogurt people have ruined my life. The thickness makes me gag.
That’s too bad Iris! But by making your own you can control the thickness. All you have to do is decrease the straining time or add back some of the whey to thin it down.
I make my own bread, and just about everything else. I’ve tried making home-made yogurt in the electric yougurt-maker, more than once, with disappointing results. The yogurt comes out “grainy”, with grain-like texture, not smooth. I am not sure why. I will try again soon. I thought that it could be because I stirred the yogurt culture with some of the prepared milk and did not just “dump” it into the milk. I will try until I get it.
Hi Susan,
I’ve never used an electric yogurt-maker so I can’t give you any tips regarding it. But I think it’s great that you want to give it another try. Homemade yogurt can be tricky and sometimes it works and others it doesn’t. It’s definitely a learning process but with delicious results.
Thank you for the answer. I will try to make by leaving it in the oven to ferment. Hope it works.
Good luck!:)
Loved it! I couldnt find live cultures yogurt, so I just bought regular yogurt and prayed, and it worked! It tastes awesome and is as creamy as the one in the pic. I just have a small question, the powder milk has something to do with the microbiology stuff or is just for the taste? Thanks!
Hi Lula! That’s great, and so glad it worked with the yogurt you bought.:) I add it for taste because it adds more fat and creaminess. As far as microbiology involved I couldn’t tell you, hehe!
This is a great recipe, the yoghurt was thick, creamy and delicious. I was wondering if anyone has tried doubling the recipe? Do you double the starter too?
Thank you Steph and glad to here you got the same yummy results. I haven’t doubled the recipe but I would recommend you double the starter — just to be sure.
Have you tried this with Organic Milk that is Ultra-Pasturized? I had once read someone having issues with making yougurt Ultra-Pasturized milk. Thanks
Hi Carol,
Yes, I have made it with Ultra-Pasteurized milk. (Knock on wood) So far I haven’t had any problems with it, but I have read that some people do. Good luck!:)
I’ve been making low fat yogurt for years similar to the recipe above. For ease of fermenting, I put the quart jar in the center of my sleeping bag which is stuffed loosely in it’s stuff sack. Comes out perfect every time.
That sounds like a great tip. Thanks for sharing Laurie!
Hi, I just wanna ask whether there is any difference if I leave out the milk powder. Is it ok if I just use milk and yogurt? I never just milk powder to make anything so I’m kinda lazy to purchase some just to make yogurt. Thanks.
I use the milk powder to give the yogurt more fat, this helps thicken up the yogurt. Honestly I always use it so I can’t tell you what the results will be. You could try adding some cream in it’s place? Enjoy!
Hi,
Do you think it is possible for me to make Greek yogurt in India. Or for that matter yogurt from countries other than the original Indian yogurt. How can I prevent the Indian strain from overpowering the strain I have added.
Hi Leela,
Greek yogurt is meant as a type or style of yogurt that is thicker than regular yogurt. It really doesn’t matter that you start the yogurt with an Indian, American or European yogurt strain. If you prepare it correctly then the yogurt will be thick and so Greek style. Enjoy!
I was wondering if you can use coconut or almond milk instead of low fat milk?
Hi Susie,
I don’t use low fat products so I have never made a low-fat or non-fat version. I also have never used either coconut or almond milk in place of the full-fat milk. I suppose you could experiment with the milks and see what happens, you never know right?:)
I was looking for receipt to make my own yogurt and come upon yours. Thank you Spicie Foodie I am sure going to try it. Going to store to purchase what I need to make it tomorrow. Ease understanding receipt and beautiful pictures 🙂
I use the whey for making sauerkraut. The lactic acid in the whey gives the cabbage a jump start to fermenting. The trick is to not use too much salt which slows the fermentation. I make it in small gallon jars and divide it into pints afterwards.
Hi Deb! Thank you so much for sharing your great tip. I would love to make my own sauerkraut someday, will definitely keep your tips in mind.
save the whey from yogurt making to make home made ricotta!
Thank you for the tip, I’ll need to try that!